Thursday, November 26, 2015

TGIFF! Zig Zag Quilt

Welcome to Thank Goodness it's Finished Friday. If you're here in the USA you might be recovering from a Thanksgiving food coma, or battling the shoppers for 'Black Friday.' Maybe you even braved the masses who shop Thanksgiving Day. In the spirit of this crazy season, I'm making this post available on Thursday. I cannot wait until Friday! Let's get this TGIFT/TGIFF party started. I'd love to see what you are finishing up! 

My Zig Zag Quilt had its beginning in March of 2014. I fell in love with some beautiful batik stripe fabrics at the Original Quilting and Sewing Expo in Lakeland, FL. I'm happy to say I completed the quilt in less than two years! 

Binding took quite a bit of time, and inspired the name.
My original design did not call for a crazy binding. No, I drew it out on my graph paper all neat and square. The craziest I got with the first sketch was cutting off the corners a little bit. When I started putting the whole thing together though, I just couldn't justify trimming so much of the set in triangles that put this design on edge point. The crazy zig-zag binding was going to put me on edge! Fortunately, with a helpful search engine and YouTube, I was able to find some great tips on how to handle an irregular binding. I'll include a link to the video that I followed at the end of this post.


It seems that everyone has different parts of the quilt making process that are super appealing to them. I run the gambit, I love piecing (even though I'm not entirely precise), I love quilting (especially now that I have Louise the Longarm), but there is something so satisfying about hand stitching the binding onto a quilt. Perhaps its the feeling of accomplishment knowing that you are putting the finishing touches on something that you've worked so long on, or maybe I just find the hand work to be very relaxing. I'm not sure. Anyway, as soon as the binding was on, I couldn't wait to take the quilt out to the groves to get some pictures. 


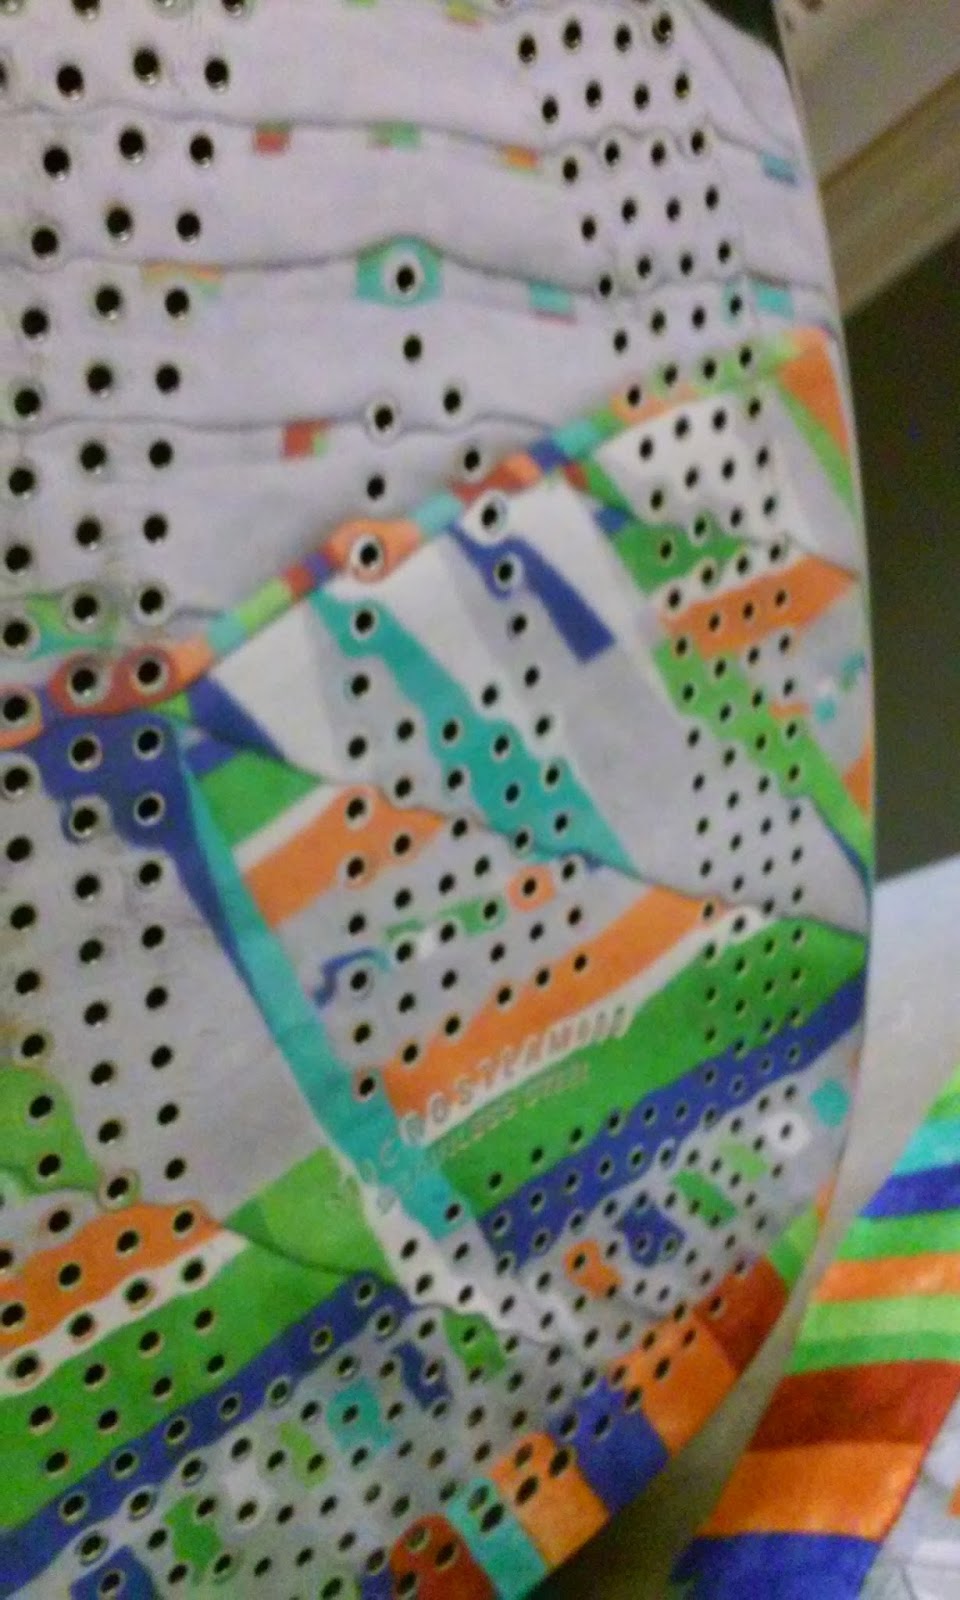
Free hand 'straight line' quilting enhances the strong geometric and graphic quality of this quilt. I used Louise's hopping foot to follow along the stripes in the red fabric and then use straight diagonal lines in all of the white areas. You might be able to see from the photo of the back that there is a difference in color where the red stripe fabric is and where the white areas are. That's because I used a variegated King Tut thread from Superior threads for the red areas and white Aurifil (#2024) in the white areas.


 A little close up of the quilting. I know it's an amateur shot, but I'm always on the look out to learn better ways of documenting my quilts. I have learned that it is very difficult to see what you are taking pictures of on the screen of a smart phone in the day light. If you have any suggestions for photographing your quilts, I'd love to hear about them in the comments.


If you are interested in reading more about the journey to this TGIFF be sure to check out these other postings.
Getting My Sew-Jo at the Expo, where I first fell in love with the stripes.
So Yeah, This Happened Today, which I could have titled, The First Cut is the Deepest! 
A Quilty Coaster Ride, where find out what a thrill designing my own quilt can be.
Finding Time, cause we could all use some more sewing and design time.
 Here is the link to the video that I used for irregular binding.


Sunday, September 6, 2015

Sunday Stash: Happy Camper

I stumbled into Nancy's Quilt Shop in Winter Garden, FL a few months ago after my husband and I had walked around the Winter Garden Farmer's Market. Although they have a wide selection of fabric there were only a couple that really spoke to me. This camping fabric reminded me of the lining of a sleeping bag I used when my scout troop went on it's annual summer camping trips. I was feeling a bit nostalgic and the fabric had been discounted. In addition to Nancy's wide selection of fabrics, she also has a hefty array of clearance priced bolts! Unfortunately, my wallet was slim, and I didn't think it was wise to purchase these, marked down or not. Until. . .


About a month later, Seark and I were back in Winter Garden, this time scouting out some real-estate in the area. He knows me all to well and knew we had to stop back in. The American Jane, Happy Campers fabric by Moda was still there and still on the discount shelf. I bought up several yards with the intentions of making a couple of oversize lap quilts.


Now, I have to figure out what quilt pattern to use! Until then, these are going to marinate in the closet for a bit.

I'm linking up with Molli Sparkles for his Sunday Stash.

Friday, August 7, 2015

Broadway Mini Swap

The beginning.

Instagram has been a gateway to the world of mini quilt swaps. There are swaps for nerdy quilts, super hero quilts, zombie quilts, rainbow quilts, quilts featuring specific fabric designers. If you can dream it, there is probably a swap for it. While I resisted all of the monsters and heroes, I could not pass up the Broadway swap. I know it's a stereotype, but before I even knew I was gay, I loved Broadway and stage productions. The first CD that I ever owned was Riverdance! Wow, I can't believe I just admitted that. I quickly put my name into the sign ups.

If you've never participated in an swap on Instagram or otherwise, they are tons of fun. Essentially you fill in a form with your quilty interests such as fabric likes, dislikes, favorites of the swap theme and some information about allergies and snack weaknesses. You are assigned a partner and you get their information from the questionnaire. Based on this you get to search them out on social media and learn more about them. Then you create a spectacular mini quilt just for them!

My partner for the Broadway Mini Swap loves Grease, so I thought I would make a quilt featuring the female lead, Sandy. I referenced the packaging of a vintage clothing pattern to make a drawing of the the new girl at school. I thought I could simplify the lines to make it more angular and that I could make a paper piece pattern of the drawing. My drawing proved to be overwhelming to me and I could not figure out how to make the pattern. How do you eat an elephant? One bite at a time. So I decided to create a grid over the drawing to break it into smaller more manageable parts. This worked well, but may have created some unnecessary seam lines. I wish I could better describe the process I took, but struggle to put my thoughts into words. Instead, here are pictures to show the girl coming together.
The bottom of the skirt starts to develop as I add row three.

With the addition of row four I was pleased to see the draping of the skirt match with the parts below.
Sandy gets some arms.
I took a break from working on her at this point, because I was disappointed by her wasp like waist and I couldn't figure out how to make the band at the top of her skirt. The lines of her cardigan and head were also bothersome to me. During this break, I was notified that my partner had dropped out of the swap! Eek! My new partner had a long list of Broadway likes, and buried at the bottom of the list was Bye Bye Birdie. Since I had already invested so much time into the design and creation of this mini I wanted to make it work instead of starting over again.

I used the wrong fabric as I pieced the top.
I had some struggles with the piecing, but enjoyed the puzzle of it all. In the picture above I had used fabric the color of the cardigan when it should have been the color of the blouse. I had to take it apart and insert the correct color and use some hand sewing to recreate the seams.

She's almost complete. Just waiting to 'get her hair did.'
A detail of the quilting. 

I wanted the quilting to help tell the story of the show as I transitioned this quilt from Grease to Birdie.  I imagined quilting other figures in the background holding signs expressing their love for the drafted rock and roll star. I simplified this idea and quilted hanging pennants that spelled out "WE ❤ YOU CONRAD." I used crosshatch quilting to fill the negative space behind the girl to create a wall, I used larger diagonal cross hatching to create a floor for her to stand on.
With about half of the quilting done, I was running out of thread. Boo!
Another quilting detail. This shows the pennants a little better.

A hand embroidered label for the back. 

The finished mini all bound and ready to be sent.

The back featuring a crossword puzzle fabric I purchased at Pink Castle Fabrics.

She had to make it to the groves for a photo as well. 

I'm linking this finish up to TGIFF (Thank Goodness it's Finally Finished) this week hosted by Laura at Quokka Quilts.


Wednesday, August 5, 2015

Midnight Mystery Quilt: Sponsorship

I am pleased to announce Quilting Among the Groves is a proud sponsor of the Midnight Mystery Quilt hosted by Meadow Mist Designs. 

Cheryl has rounded up awesome prizes to be randomly given away at the Quilt Reveal Party in March 2016. You can find all of the details about the Midnight Mystery Quilt at Meadow Mist Designs. 

Quilting Among the Groves will provide one winner long-arm quilting services for a semi-densely quilted all-over design on their Midnight Mystery Quilt top or a quilt that is similarly sized. This prize is being offered to players in the United States due to shipping charges.

I'm looking forward to solving the mystery myself and have my fabrics all cut and ready for the sewing instructions that are expected on Thursday! 


For more details about these fabric choices, read my Sunday Stash post here.

Friday, July 31, 2015

The Quickest Quilt

Some situations call for a quilt, others demand with such intensity that a quilt almost appears out of thin air. This was such a quilt. A couple I had met during my college years had recently announced they were in the midst of an adoption. They'd spent years hosting foreign exchange students, but knew they wanted a child of their own.  I knew right away I wanted to make a quilt for them and their little one, and I knew I wanted to use a + shape to celebrate the addition to their family. 

Fortunately, I had some yardage perfectly suited for this occasion in my stash. I used some Heather Ross strawberries in green surrounded by Architextures Crosshatch in Grey, I added a punch of pink with a Kaffe Fassett shot cotton.  


The pattern came from Southern Fabric and is aptly named The Easiest Quilt in the World. It really was super easy, and may become a go-to pattern for when the stork is out and about. This was so easy to put together I didn't even get to take photos while I was in process. Seriously, the top came together in about an hour, and that was from yardage to finished top! 

I did make one modification to the pattern. If you follow the links above to look at the original quilt, you will notice there are two black squares, one in the center at the top and one in the center on the bottom. They appear to be + that have run out of our line of sight. I chose to make these two squares out of the background fabric rather than the focus fabric so that all of the + were contained within the quilt. 


I quilted this little baby quilt on Louise, with some inspiration from Angela Walters who blogs at Quilting is My Therapy. I used spirals in the green + and cross hatching in the shocking pink +. I used a combination of leaves and pebbles in the background and drew a wavy meandering line and finished with straight line quilting. 

 The new family is special indeed. The two fathers were among the first who could jointly adopt in my childhood home state of Michigan. They were legally married during a brief period of time after a US District Court ruled the state's denial of marriage rights to same-sex couples unconstitutional and before an appeals court ordered a stay on the ruling. Little Baby "A" was due on June 13, but she didn't make her arrival until June 26th, the day the U.S. Supreme Court made their ruling on same-sex marriages. Not only does this baby quilt celebrate the addition to a family, but also the equality of the family with an = on the back. 


I have great admiration for this family and hope that one day my husband and I might follow in their footsteps and realize our dream of a family. 

This was my quickest quilt, from yards of fabric to the mail box in three days. I'd like to say this is the first #lovewins quilt. There are several swaps that have formed on Instagram to celebrate marriage equality after the SCOTUS ruling on June 26th. Check out #lovewinsmini and #winninglovemini on Instagram for more of whats going on there. Also remember to leave a little comment love on the TGIFF link party hosted this week by Michelle at From Bolt to Beauty. The button for the event is on my sidebar. 

What has been your quickest quilt?

Friday, July 24, 2015

Finish: Foothills Mystery

I'm linking up with the Thank Goodness it's Finally Finished link party which is being hosted this week by Janet at Simply Pieced.

  I wish I could remember when I first came across Cheryl and her blog Meadow Mist Designs, but all I know is that I found her before she started her Foothills Mystery Quilt last year. If you are not familiar with a mystery quilt, it is essentially a quilt whose finish is kept secret and has been expertly broken down into smaller steps that once put together create the predetermined design. Cheryl created this mystery to share with her guild, but decided to let her blog followers in on the fun. Each month a different step was provided which meant to me that I only had a small amount of work to do on this project before I could set it aside. I guess it made me realize it is possible to take a project just a little at a time and not all projects have to be completed instantly. 
My fabric pull for the project, which you can read about in an earlier blog post here.
 You may have noticed the colorful graph paper design that is hanging out with this pile of fabric, and I have to tell you that if you ever do a mystery quilt this is not a part of it! I made the process way more difficult than it should be. In the first step of the quilt, Cheryl broke down the fabric requirements for each of three different fabric groups. This is where I went completely overboard, probably trying to solve the mystery prematurely. I got out the graph paper to lay out the ratio of the three different fabric groups. From the blob of three colors on the left hand side of the photo below, you can see that there is more grey (3 yards total) than the other colors and much less orange/wasabi (5/8 yard) than the other colors. I wanted to see what this ratio might look like if it were randomly arranged in a quilt top. The left hand blob in the picture below shows one yard is 12 squares of the graph paper. The other rectangles are the same amount color, as squares or half squares to equal the yardage outlined! What?! Long story short, my brain doesn't know how to enjoy a leisurely mystery quilt along and has to complicate everything it comes across!

My fit of crazy trying to solve the mystery, instead of just enjoying it like a summer read.
 Cheryl was so kind to work with and she offered me some hints at this point in the mystery that allowed the wheels in my head to slow down just a bit. Month by month the quilt parts began to take shape. We made half square triangles (HST), square within a square blocks, hour glass blocks, and diamonds. There were several parts to the puzzle, but we still didn't know how they would all go together. During the month of the HSTs, I had to find an easy way to mass produce them, there were over 100 of them. You can read about my HST quilt hack in an earlier post.

This pile of triangles was actually fun to make after I made some modifications to my machine!
 This quilt was my second long arm quilting experience on Louise, my TinLizzie machine. I played with free-motion, pebbles and a little swirly design, all were hand guided.
Louise making pebbles until the cows come home!
 I took the photos below before this quilt was given as a thank you to the officiant of my marriage to my fantastic husband, and her husband who prepared all of the food for our intimate ceremony. 
I may have to change my blog to quilting among the pines! Pine trees seem to be taking over the orange groves.

A closer look at the pebbles.
 I used two different threads on this quilt, one an Aurifil in grey, and the other a verigated Superior Threads King Tut. The design that was created on the back of the quilt was an unexpected surprise that delighted both the recipients of the quilt and myself.

The secondary design that becomes apparent on the back of the quilt.


The Foothills Mystery has been solved. Stop back among the pines groves to see my progress on Cheryl's latest mystery the Midnight Mystery quilt along. Have you ever participated in a mystery quilt along? What have been your experiences?

Wednesday, July 22, 2015

Midnight Mystery Quilt

Cheryl at Meadow Mist Designs is hosting another mystery quilt along! Check out the Midnight Mystery Quilt button on my sidebar to link to her blog and find out more. It's not too late to join in. So far we've selected fabrics for four distinct fabric groups and we've been given instructions on how to cut into the lovelies. 

I chose the fabrics below for my Midnight Mystery Quilt. It's my first time using Cotton + Steel and I'm excited to see how nicely fabrics from different seasons play together. See those little dots dancing above selvage on the dark purple fabric, I'm super geeked about them. I think they will make a great little bit of the binding on this quilt. . .when it's finished. . .next year! 


The Foothills Mystery Quilt, Cheryl's previous quilt along was so well organized and broken into smaller manageable steps that were easy to complete before the next set of monthly instructions arrived in my inbox. I'm lucky that she is so well organized, because before I could make it out of Keep Me in Stitches with my precious bundle of fabrics, my ever enabling husband had spotted the lot that you see below. This means I will be making not one, but two of these Midnight Mysteries! Sean was drawn to texture and understated hues of the quilter's linen by Robert Kaufman. He loves places like Restoration Hardware and West Elm, and thought these fabrics could make a quilt fit to grace one of their catalogs. There is one fabric in the selection that is different, the one with the fuzzy looking top, is a peppered cotton that was masquerading as a quilter's linen. . .but I don't mind. I think they will make a great looking quilt.


As an added bonus, the Midnight Mystery Quilt concludes in April 2016, so that neutral quilt with a pop of orange will be ready just in time for our one year wedding anniversary. 

Be sure to stop by this Friday for the reveal of my finished Foothills Mystery Quilt. I'm linking up with Lorna at Sew Fresh Quilts for her Let's Bee Social party! I've got her button in the sidebar too. :)

Sunday, July 19, 2015

Sunday Stash: Carolyn Friedlander


I have a bit of an obsession with Carolyn Friedlander and her beautiful fabric collections for Robert Kaufman Fabrics. I purchased part of her Architextures line at my LQS, Heartfelt Quilting, way back right before I started Quilting Among the Groves. I've been hooked ever since, and have used some of her fabric in 90% of my projects since then. I am so obsessed that a couple of weeks ago, when I saw some Architextures languishing on the shelf at Heartfelt, I bought some. Well not really some, but the rest of what was left! The purple color on the left has already been used as the backing to the quilt that I wrote about in my blog post: A Quilty Coaster Ride


Part of my obsession with Carolyn is perhaps because she has a little paradise among the groves not far from mine. I met her last year at a special showing of her work at the central Florida landmark, Bok Tower Gardens. She hosted a local meet and greet where a handful of obsessed followers like myself met with her to have lunch, enjoy some slow sewing, and social time under the canopy of the oak trees surrounding the famous carillon tower.

I took some pictures of her work as it hung in the exhibits hall of the Garden's visitor center.
At the time her newest line of fabrics was Botanics. I have to add this beauty to my quilty bucket list.


She captures flat Florida landscape so well.
Did I mention that she also lives among the groves? Simple lines and bold colors make this depiction of the groves truly memorable.

Carolyn is an inspiration to me. Her designs are bold but simple. I love the way her quilts show that she has fun with fabric!


Are there any designers that you have an obsession with? What is it about them that sparks your imagination?

Speaking of 'spark,' I'm linking up with the sparkliest of them all, Molli Sparkles for his Sunday Stash!

Friday, July 17, 2015

LMQG Modern Elements Challenge

I joined the Lakeland Modern Quilt Guild in March of this year at the most opportune time!  Modern Elements Challenge Time! The guild partnered with Northcott Fabrics so that every participant had a fat quarter set of the same Modern Elements Fabric in the Cabana colorway. Click the link to see this collection that exudes energy. (BTW I am not affiliated with Northcott Fabrics in any way, I just enjoyed working with their fabrics in this challenge.)

 
Trying to keep my design hidden.
One of the purposes of this challenge was to help guild members embrace technology as a way to further connect with the quilting community. We were required to comment on the Lakeland Modern Quilt Guild (LMQG)blog, and on the LMQG page on the national site. Additionally, we had to document our creations by posting to other social media outlets about our progress. I opted to post with the #LMQGModernElementsChallenge on Instagram. You can follow me there here too!
Manipulating the patterns to make my own patterns.

Have you ever participated in a quilt challenge? This was my first and I was so excited to try new techniques. One of the fabrics featured a stripe motif that I manipulated by slicing and piecing back together in my own arrangement. Another fabric featured so many colors it was challenging to see how it would fit with my other fabrics. I surrounded small squares of this colorfully energetic fabric with wide swaths of coordinating grey fabric and placing them on an angle add interest.

The green fabric made me think of trees, so I thought I would try my hand at quilting some trees.
I had more fun with quilting where I experimented with how my long arm machine handles different threads. I free-handed trees using Superior Threads Bottom Line, a polyester thread, in green.  I added vertical and horizontal lines that crossed over each other in the grey that surrounds the small squares with a dark grey Aurifil cotton. I finished the bottom portion with a variegated Superior Thread King Tut by quilting a design that seems to combine the textures or scales and feathers. I want to further play with threads to see what works well and to see the different characteristics of the threads after they are in the quilt.

I find hand tacking binding to be a relaxing activity.
I used vertical and horizontal lines to create a filler.
The finished mini!
The whole quilt reminded me of the highways of Florida. Quilted trees along the roadways, cars lined up, four lanes across, the bottom part an expression of my frustration when stuck in traffic.


The back shows larger bits of the challenge fabrics.
My design was a success. It won first place! Now I've got this swell new Sizzix fabric cutter to play with!
A fun new toy!
What has been your experience with quilt challenges? I'm linking up with Thank Goodness it's Finished Friday (TGIFF) at Quilt Matters.